The style reference is a powerful parameter in MidJourney that helps maintain style consistency in AI-generated images. To use it, upload an image with the desired style and add the --sref parameter followed by the image URL to your prompt.such as:
/imagine prompt --sref [image_url]
In the following article, we will explain how to use the sref feature and provide specific examples.
Why Does Style Reference(--sref) Exist?
Many users face a common challenge when using Midjourney: they see a captivating image and want to recreate its style in their own work but don’t know how to achieve this in Midjourney. This is where the Style Reference(--sref) feature comes in handy.The --sref (style reference) function allows users to effortlessly apply the style of a preferred image to a new creation. Simply add the --sref parameter and the reference image URL to your prompt, and Midjourney will analyze the image's style characteristics and apply them to your new artwork.
How to Use Style Reference(--sref) in Midjourney V6?
- Upload Reference Image: Upload the image whose style you want Midjourney to learn through the interface.
- Add Parameter: Add the --sref parameter and the image URL to your prompt.
- Multiple Style Reference: You can include multiple image URLs separated by spaces, for example:
--sref urlA urlB urlC. - Adjust Style Reference Intensity: Use the --sw (style weight) parameter to adjust the style intensity, ranging from 0 to 1000, with a default value of 100.
- Adjust Weights of Different Images: Add double colons and a value after the image URL to adjust the weight, such as:
--sref urlA::2 urlB::3 urlC::5.
1.Reference Image,After uploading to Midjourney, you will get a link: https://s.mj.run/olpyywWsQ0w
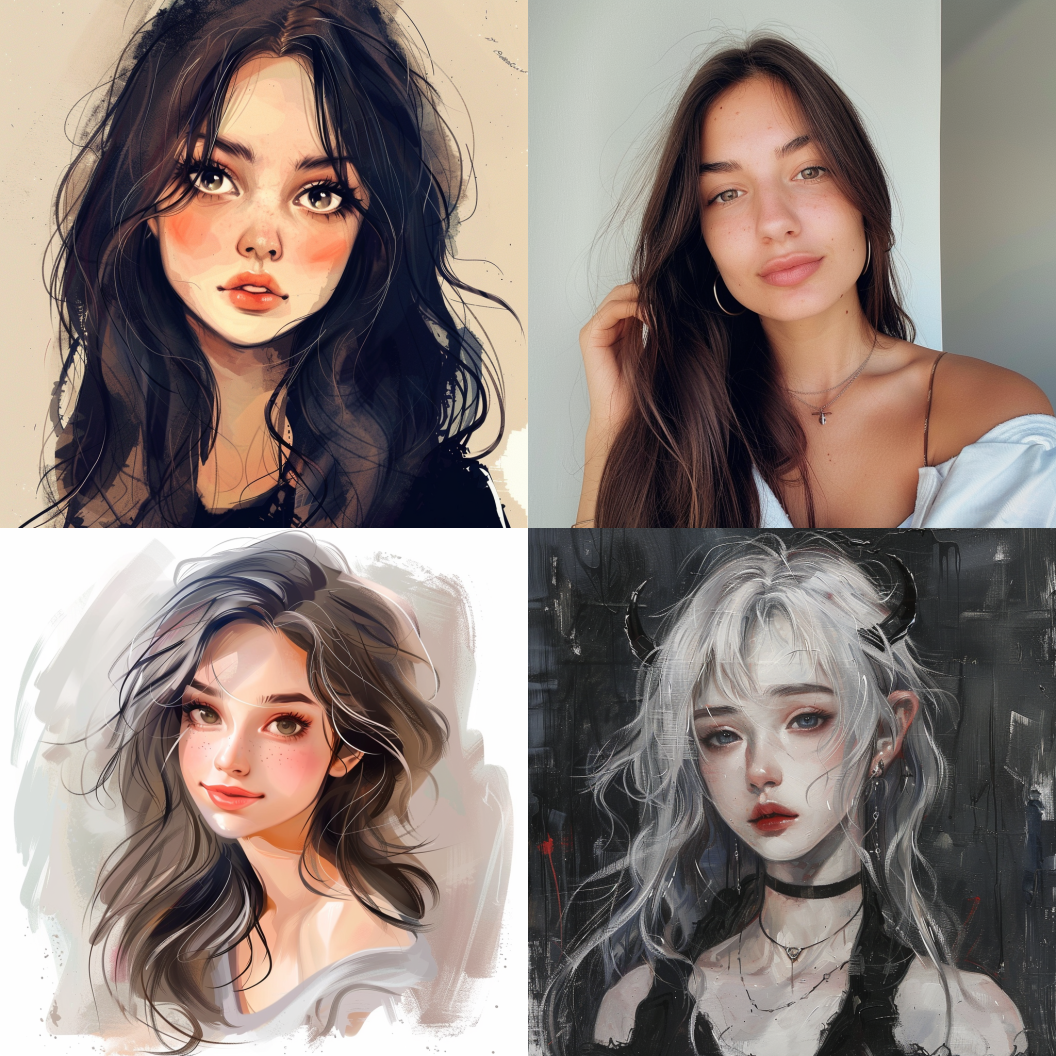
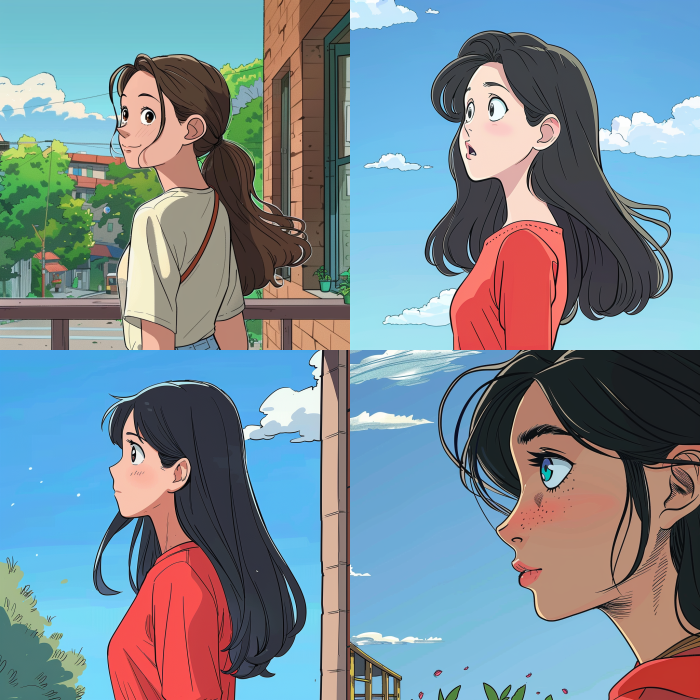
3.prompt: girl --sref https://s.mj.run/olpyywWsQ0w
There is a more detailed video explanation on YouTube. You can watch the video below.👇
Advanced Techniques
Adjusting Style Weight (–sw)
The –sw (style weight) parameter determines how strongly the style reference affects the output. This parameter ranges from 0 to 1000, allowing you to fine-tune the extent to which the style is reflected in your results. With a default value of 100, increasing the style weight intensifies the influence of the style reference on your output.
Using sref code
Using an sref code is very simple. Just add the corresponding code at the end of your prompt in Midjourney. For example,
/imagine prompt [your description] --sref 5000
This might apply a specific artistic style. For example,adding an sref code to your prompt can replicate a preset style in your new image.

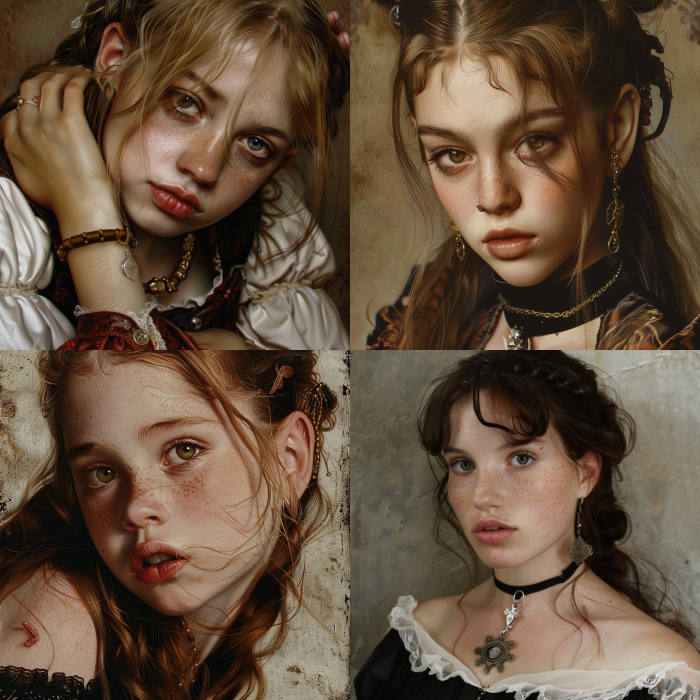
prompt: gril --sref 374056684
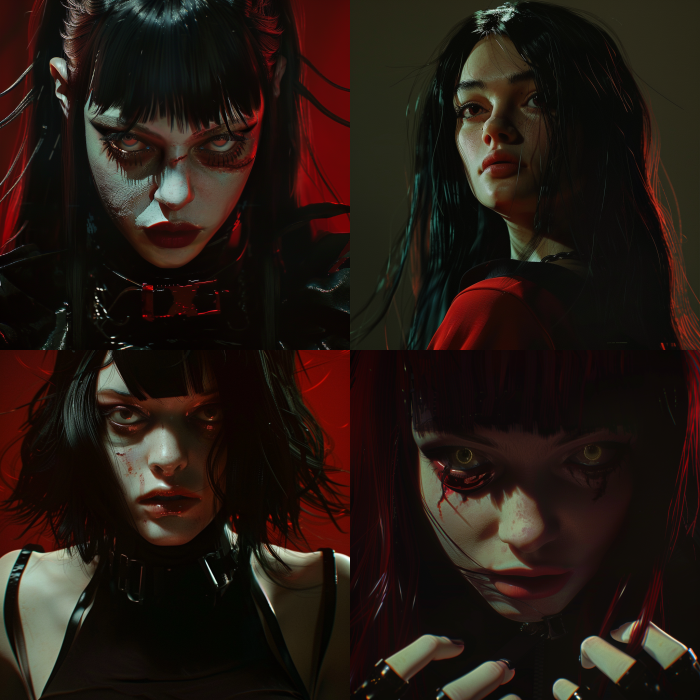
prompt: gril --sref 151032020
Combining Multiple Style References
You can combine multiple images as style references to blend different aesthetics. By assigning weights to each image, you can control their influence and highlight specific styles. For example, using the --sref 151032020 and --sref 251 codes together will generate an anime-style illustration with an aluminum texture.

prompt: dream [--sref 151032020](https://midjourneysref.com/srefcodedetail/--sref 151032020) --niji 6 --s 1000
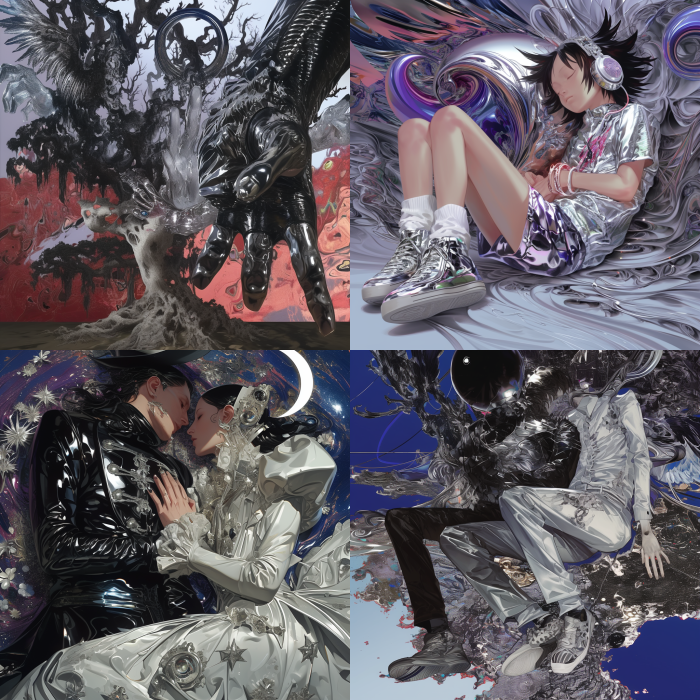
prompt: dream [--sref 251](https://midjourneysref.com/srefcodedetail/--sref 251) --niji 6 --s 1000
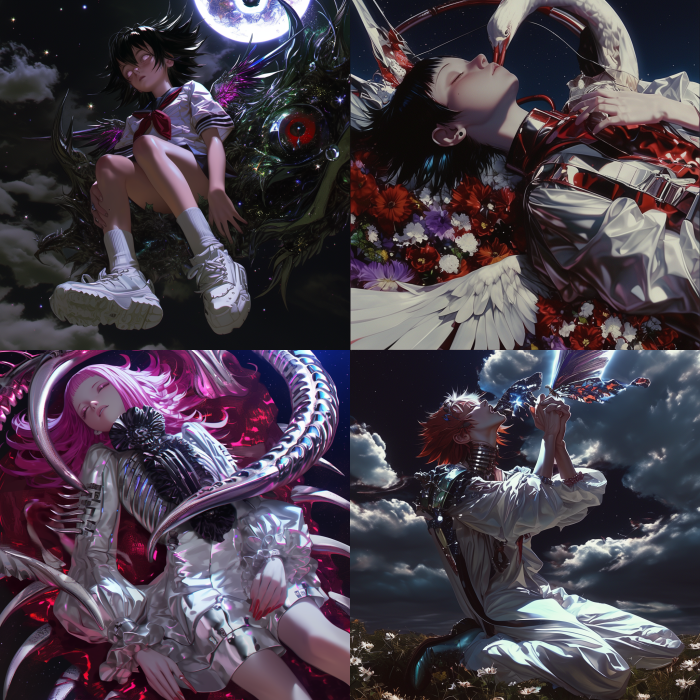
prompt: dream --sref 251 151032020 --niji 6 --s 1000
How to Obtain an sref Code?
There are two main ways to obtain Midjourney's sref codes:
- Using the
--sref randomCommand: This is an official Midjourney feature. When you add --sref random to your prompt, Midjourney will randomly generate an sref code and apply the corresponding style. The advantage of this method is its simplicity and directness, allowing you to explore various styles. However, the downside is the unpredictability of the results, which might produce images you don’t like or of lower quality. - Using an sref Code Library or Sharing Platform: As the sref feature becomes more popular, many websites and platforms have emerged that collect and share high-quality sref codes. For example, our website offers a curated library of sref codes. You can browse these codes, view sample images and prompts, and select your preferred styles.
The following YouTube video provides a detailed tutorial. Click to watch if you need more information.👇
Thank you for reading this article. If you enjoyed it, please share it with others who might find it helpful. Your support motivates us to keep updating the website.