
Recientemente, he tenido la oportunidad de experimentar con TailsOS y Sparrow Wallet. Piezas esenciales para cualquier Bitcoiner.
TailsOS, abreviatura de “El Sistema Vivo Amnésico Incógnito,” es un sistema operativo basado en Linux diseñado para preservar la privacidad y el anonimato de los usuarios. Se ejecuta desde una unidad USB o DVD y tiene como objetivo proporcionar un entorno seguro y anónimo para actividades en línea.
TailsOS incluye herramientas de cifrado y anonimato como Tor, que enruta el tráfico a través de una red de servidores para ocultar la identidad y ubicación del usuario. Además, TailsOS está diseñado para no dejar ningún rastro en el dispositivo en el que se utiliza, ya que no guarda información de forma permanente, ofreciendo así una capa adicional de protección para aquellos que buscan navegar por internet de manera discreta y segura.
Billetera Sparrow es una billetera de Bitcoin diseñada para aquellos que valoran la soberanía financiera. Con un enfoque en la seguridad, la privacidad y la facilidad de uso, Sparrow no oculta información, sino que proporciona detalles completos sobre transacciones y UTXOs de manera manejable.
La billetera admite características estándar de las billeteras modernas de Bitcoin, como soporte completo para billeteras individuales y multisig, múltiples opciones de conexión, compatibilidad con billeteras de hardware, control total sobre las monedas y tarifas, y etiquetado de transacciones.
Además, Sparrow es único en ofrecer un editor de transacciones completo que también funciona como un explorador de blockchain, permitiendo la edición e inspección de los bytes de transacción antes de la transmisión. Sparrow fomenta la privacidad y promueve prácticas de almacenamiento en frío, siendo fácil de usar incluso para usuarios avanzados.
Hasta ahora, todas las guías que he encontrado que utilizan Sparrow en TailsOS lo hacen instalando y configurando Sparrow cada vez que se inicia el sistema. Es una estrategia segura, pero requiere una inversión de tiempo cada vez que inicias el sistema.
⚠️ Ten en cuenta que esta guía no es una recomendación sobre cómo usar Sparrow con TailsOS; simplemente propone una forma de hacer las cosas. Deberás evaluar si en tu caso personal deseas almacenar los datos o no.
🚨 No utilices este método si vas a almacenar semillas en Sparrow. Esto sería ideal si deseas almacenar una "Billetera Solo de Observación" y etiquetar los UTXOs (por ejemplo).
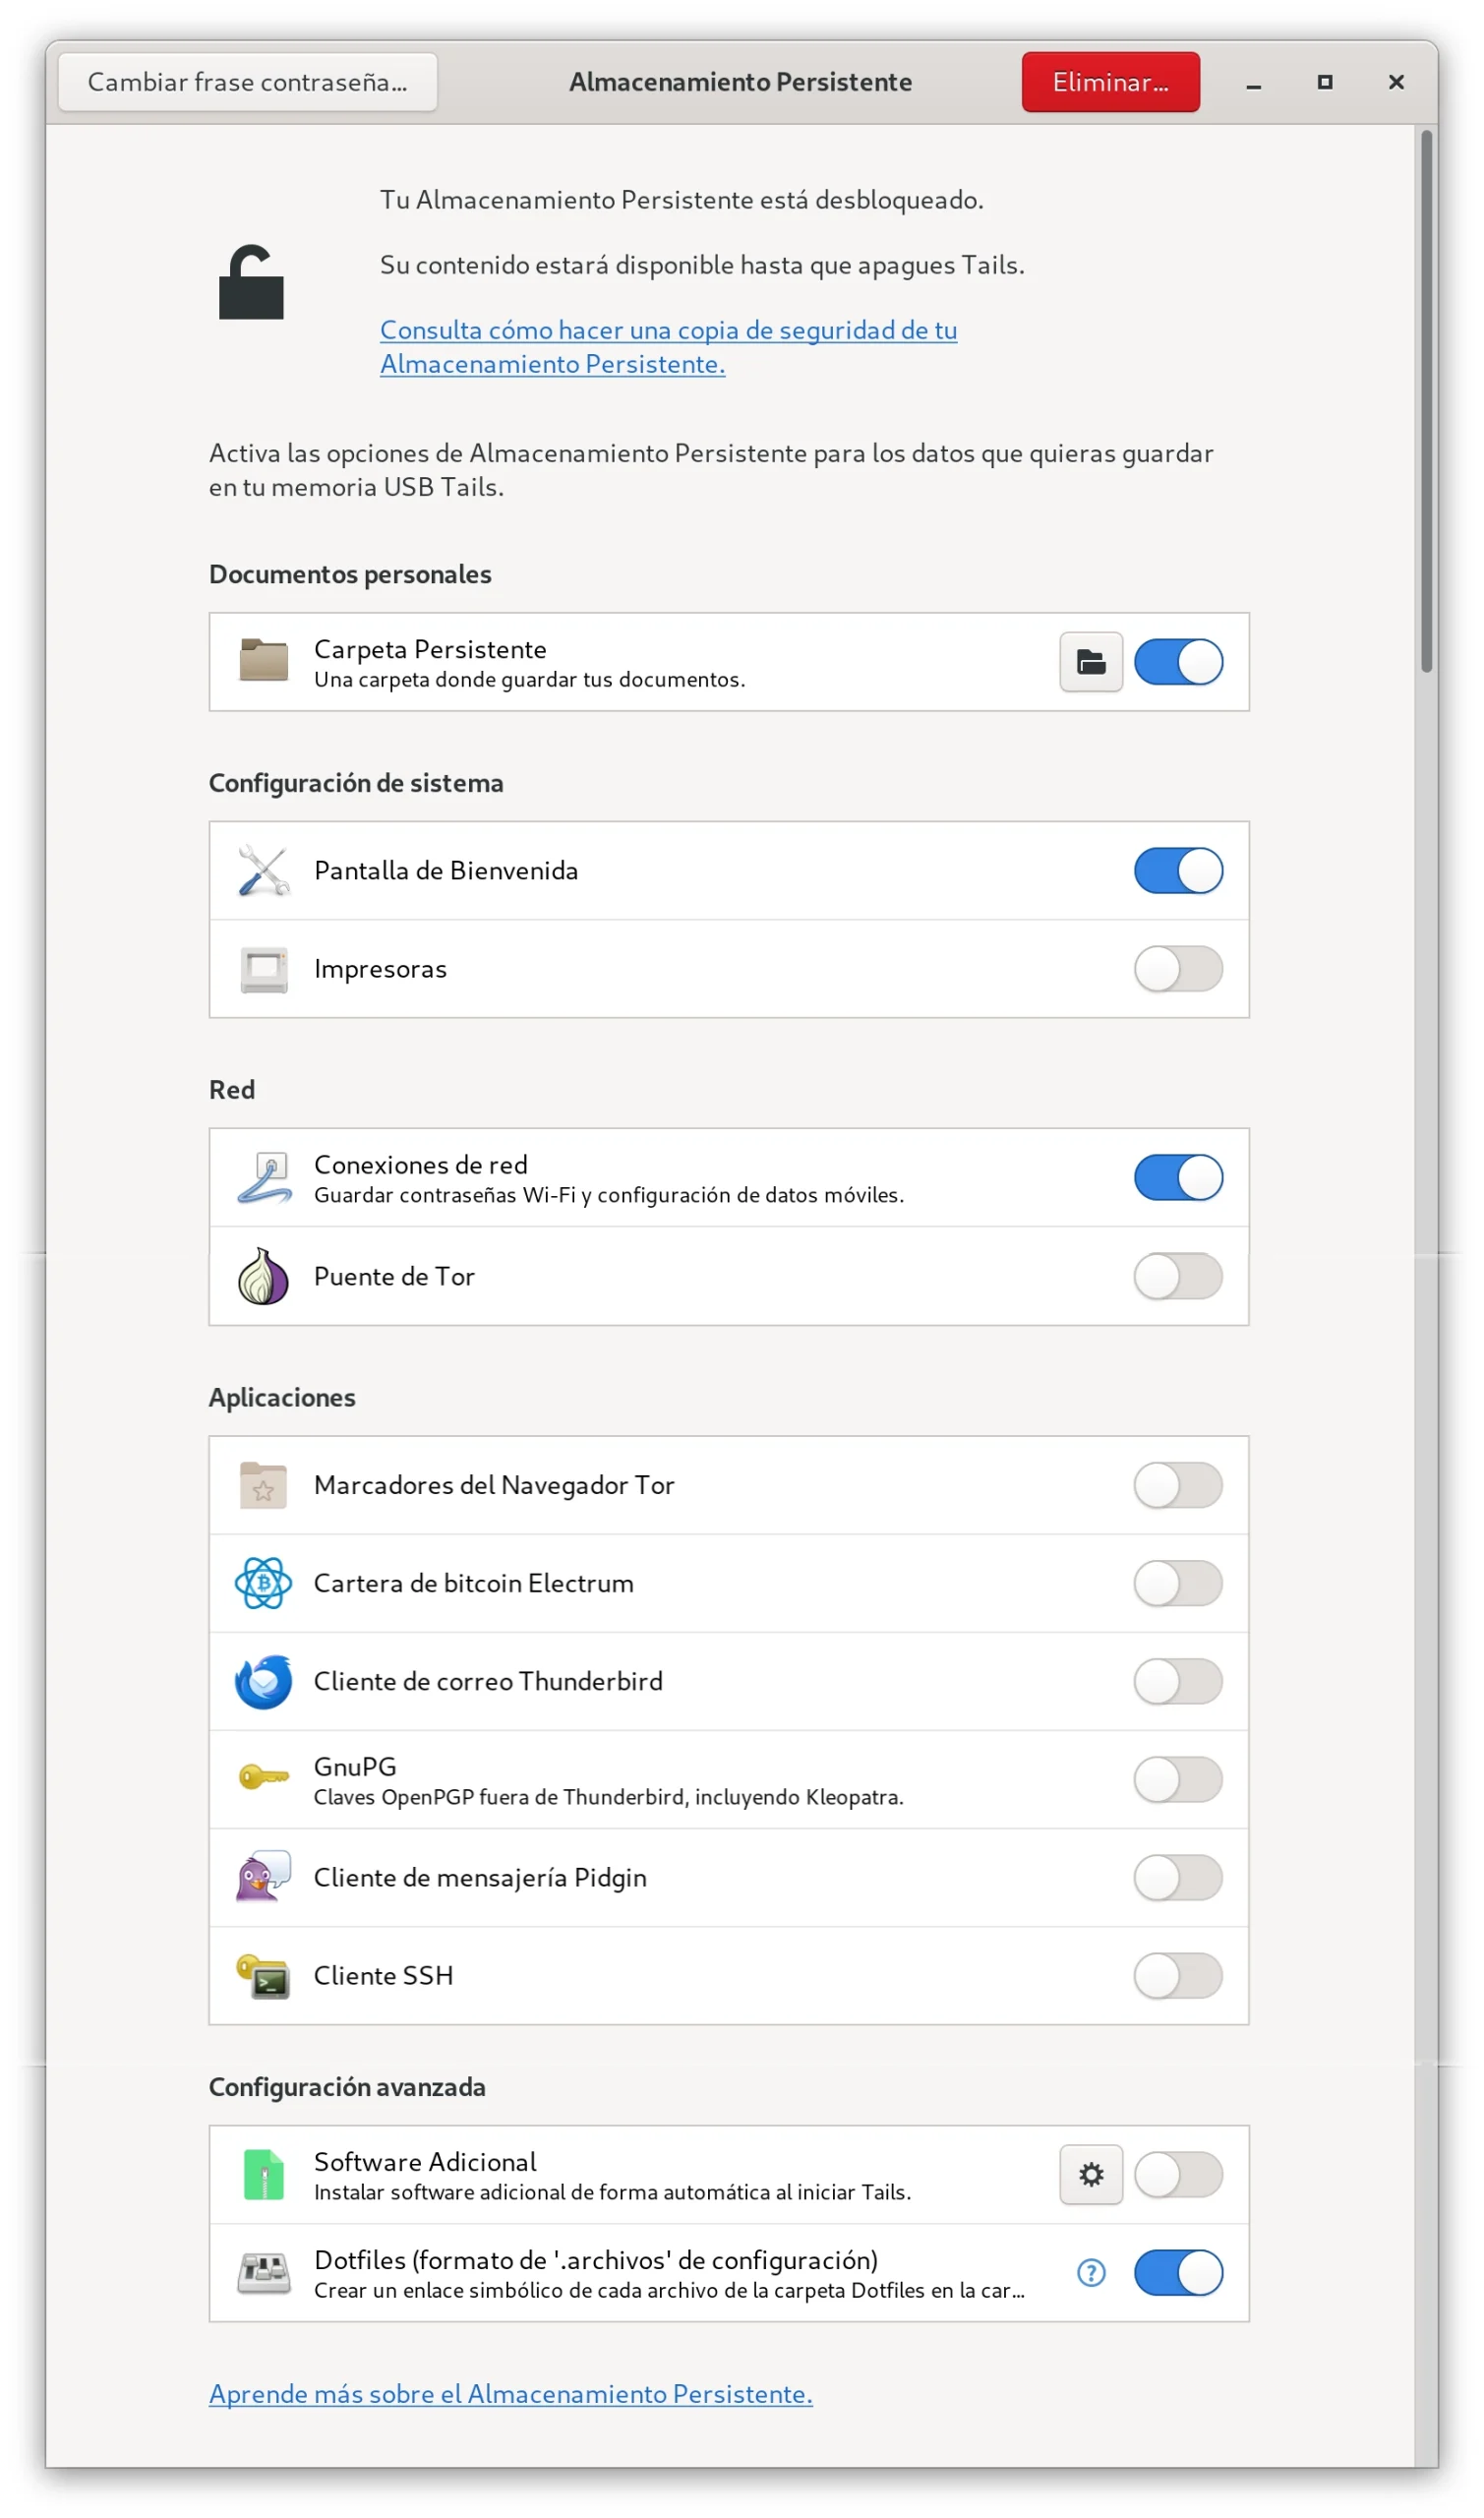
Una vez que actives el almacenamiento persistente en TailsOS desde Aplicaciones → Tails → Almacenamiento Persistente, deberías activar entre otros:
- Documentos Personales → Carpeta Persistente
- Configuración del Sistema → Pantalla de Bienvenida (opcional para conveniencia)
- Red → Conexiones de Red (opcional para conveniencia)
- Configuración Avanzada → Dotfiles
Vamos a descargar el binario de Sparrow Wallet desde https://sparrowwallet.com/download/. Dado que estoy usando un dispositivo con Intel, optaré por la versión Linux (Intel/AMD) Standalone (es importante que descargues la versión Standalone).
En el momento de escribir este artículo, la versión es sparrow-1.8.2-x86_64.tar.gz.
⚠️ No olvides verificar la integridad de los archivos descargados siguiendo la guía al final de la página de descarga.
Una vez que se ha verificado la integridad de los datos descargados, creemos algunas carpetas en el almacenamiento persistente:
- ~/Persistente/Programas
- ~/Persistente/Programas/Sparrow
- ~/Persistente/Programas/Sparrow/datos
Puedes crear todas las carpetas con el siguiente comando:
mkdir -p ~/Persistente/Programas/Sparrow/data
El siguiente paso será extraer el contenido del archivo descargado sparrow-1.8.2-x86_64.tar.gz en la carpeta Programas/Sparrow.
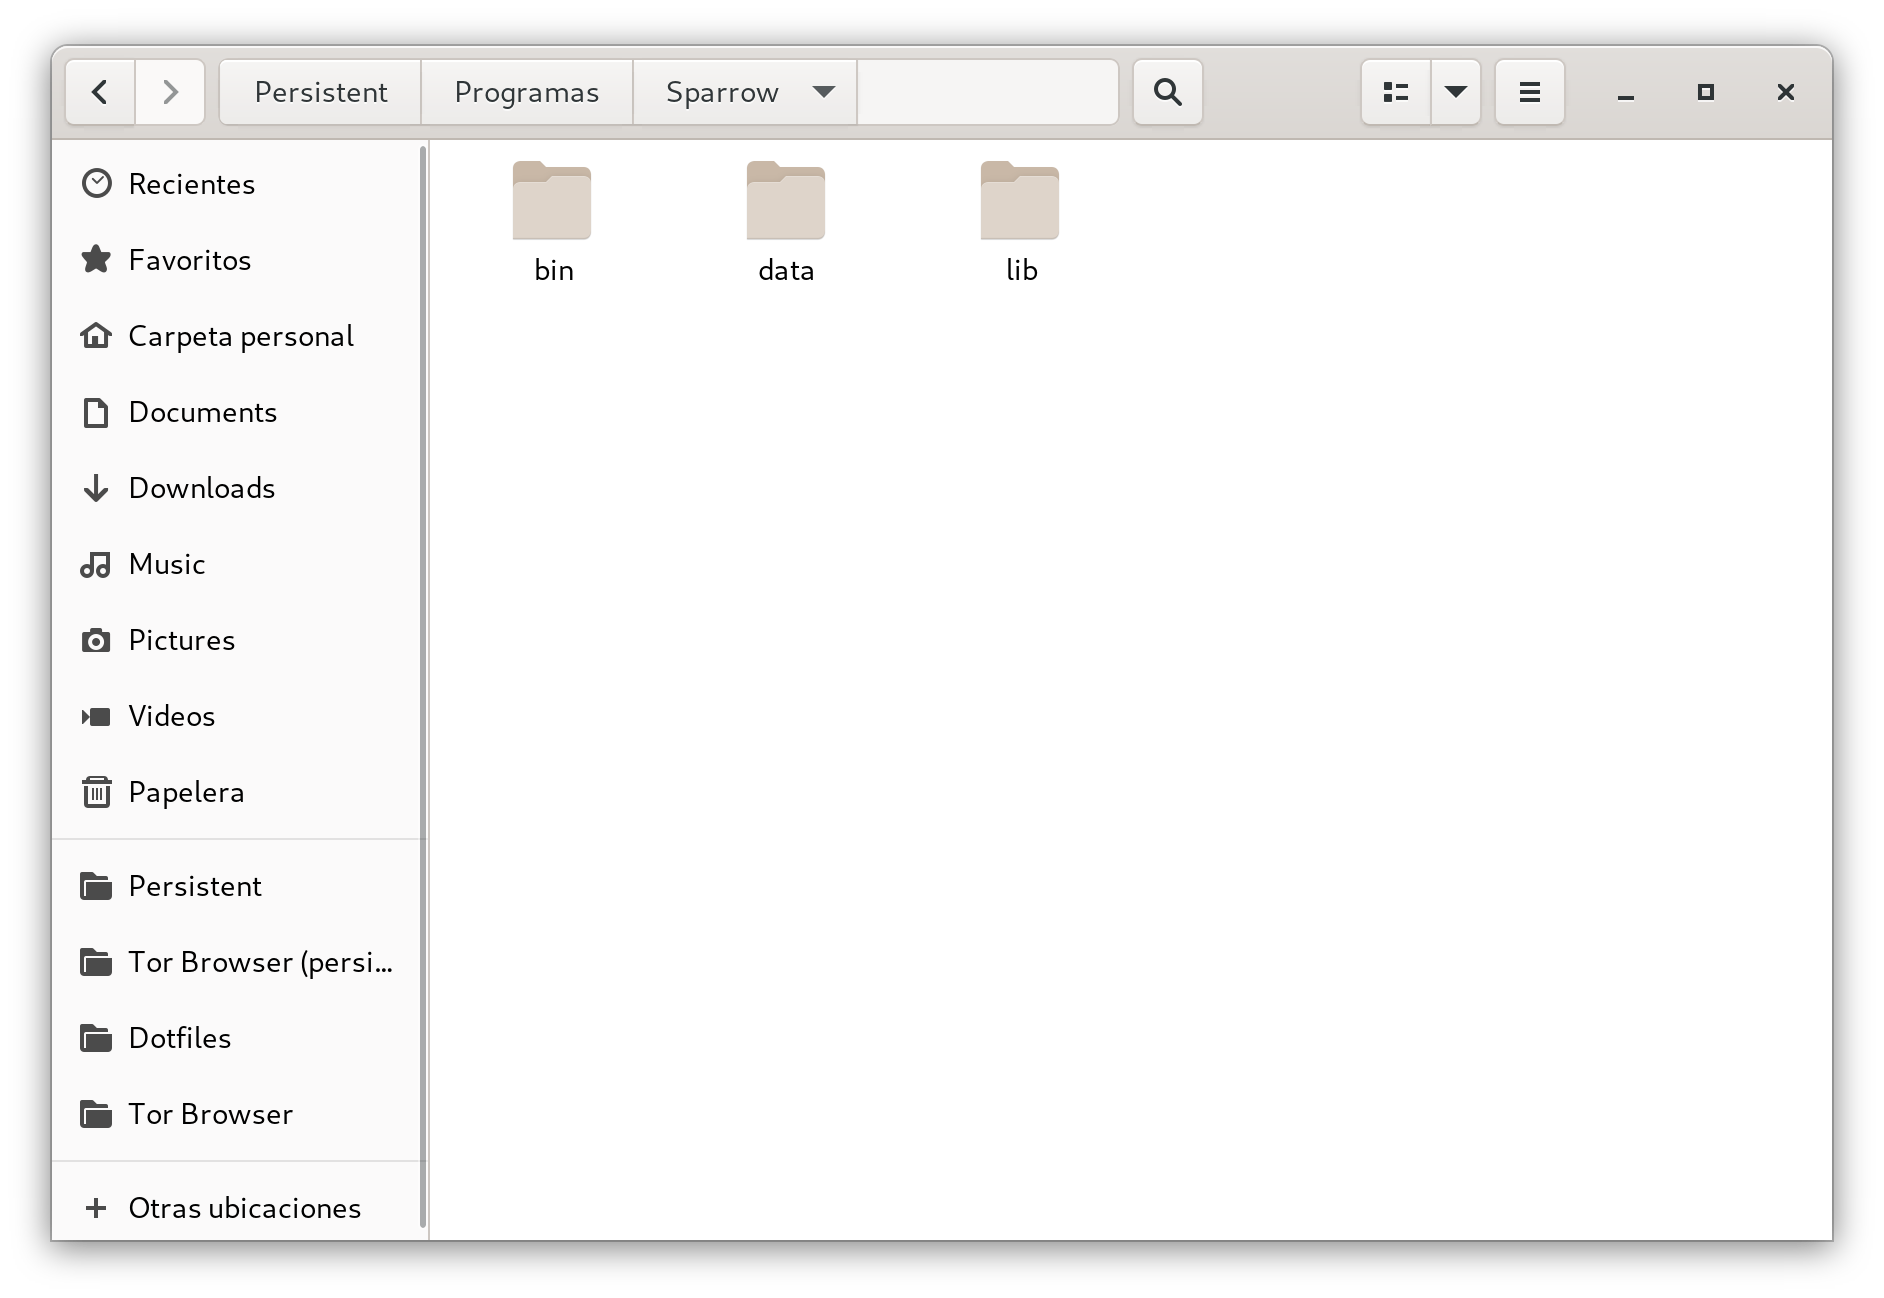
Ahora tendrás 3 carpetas dentro de Programas/Sparrow: bin, data y lib.
Hagamos una prueba rápida para ver si podemos ejecutar Sparrow desde la terminal:
~/Persistente/Programas/Sparrow/bin/Sparrow -d ~/Persistente/Programas/Sparrow/data
Lo que estamos indicando con el parámetro -d al ejecutar Sparrow es asignar nuestro directorio de datos. Puedes ver los parámetros aquí: https://sparrowwallet.com/docs/faq.html#how-can-i-run-testnet
Si la prueba sale bien, sabemos que las rutas son correctas y que nuestro almacenamiento persistente ha sido organizado como queríamos.
👊 Cerrar Sparrow.
El siguiente paso es agregar Sparrow Wallet a la lista de aplicaciones en TailsOS. Para hacer esto, necesitamos crear algunas carpetas más, esta vez dentro de la carpeta dotfiles:
- /live/persistence/TailsData_unlocked/dotfiles/.local
- /live/persistence/TailsData_unlocked/dotfiles/.local/share
- /live/persistence/TailsData_unlocked/dotfiles/.local/share/applications
Ten en cuenta que si vas a la carpeta /live/persistence/TailsData_unlocked/dotfiles/ y creas una carpeta .local, no la verás desde el explorador de archivos ya que es un archivo oculto. Si deseas ver la carpeta, necesitarás habilitar la opción de Ver Archivos Ocultos en la carpeta.
Puedes crear todas las carpetas con el siguiente comando.
mkdir -p /live/persistence/TailsData_unlocked/dotfiles/.local/share/applications
Ahora vamos a crear un nuevo archivo Sparrow.desktop y editarlo con nano:
nano /live/persistence/TailsData_unlocked/dotfiles/.local/share/applications/Sparrow.desktop
El contenido que vamos a poner dentro de ese archivo es el siguiente:
[Entrada de Escritorio]
Nombre=Gorrion
Comentario=Gorrion
Exec=/home/amnesia/Persistent/Programas/Sparrow/bin/Sparrow -d /home/amnesia/Persistent/Programas/Sparrow/data %U
Icono=/home/amnesia/Persistent/Programas/Sparrow/lib/Sparrow.png
Terminal=false
Tipo=Aplicación
Categorías=Desconocido
MimeType=application/psbt;application/bitcoin-transaction;x-scheme-handler/bitcoin;x-scheme-handler/auth47;x-scheme-handler/lightning
La fuente de este archivo es https://github.com/sparrowwallet/sparrow/blob/80fab6df995afde64a7334cb6faad341b99b6fbe/src/main/deploy/package/linux/Sparrow.desktop, los únicos detalles que hemos cambiado son las rutas al ejecutable y al icono.
Aquí tenemos dos opciones: una es probar todo el sistema que hemos configurado de inmediato como locos 🤣, o la otra es reiniciar la computadora.
Si no puedes esperar y quieres probar antes de reiniciar, solo necesitas copiar el archivo que acabamos de crear a tu Carpeta de inicio, con el siguiente comando:
cp /live/persistence/TailsData_unlocked/dotfiles/.local/share/applications/Sparrow.desktop ~/.local/share/applications/Sparrow.desktop
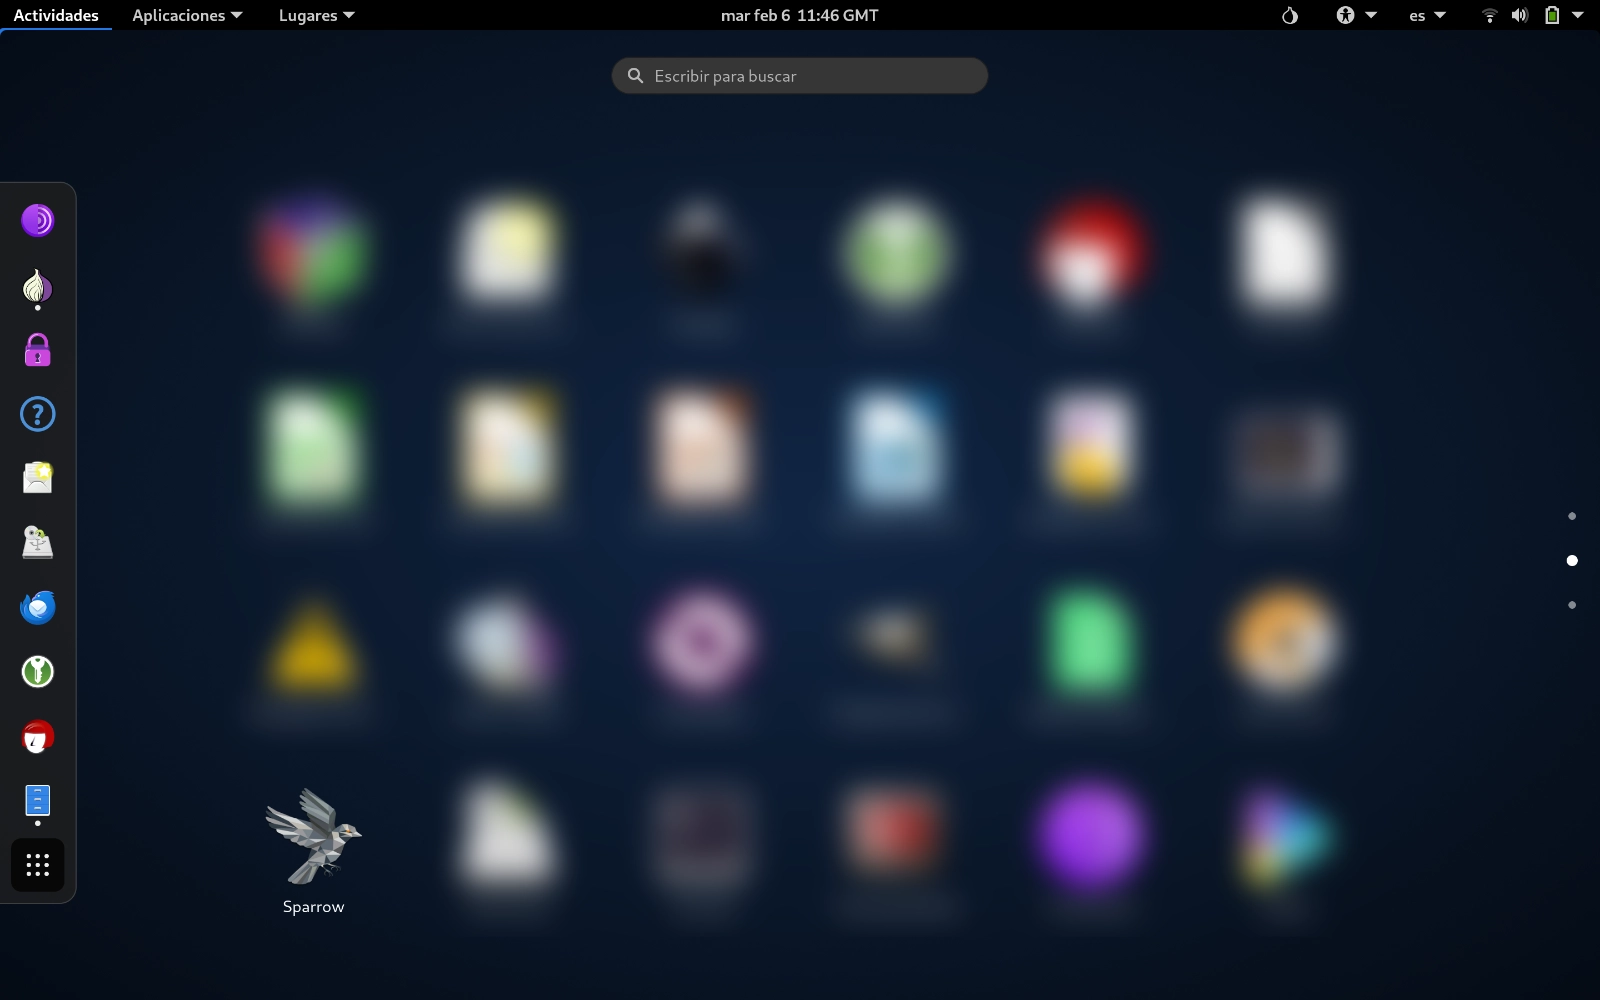
Una vez que hayas copiado el archivo, verás que el ícono de Sparrow Wallet aparece entre la lista de aplicaciones.
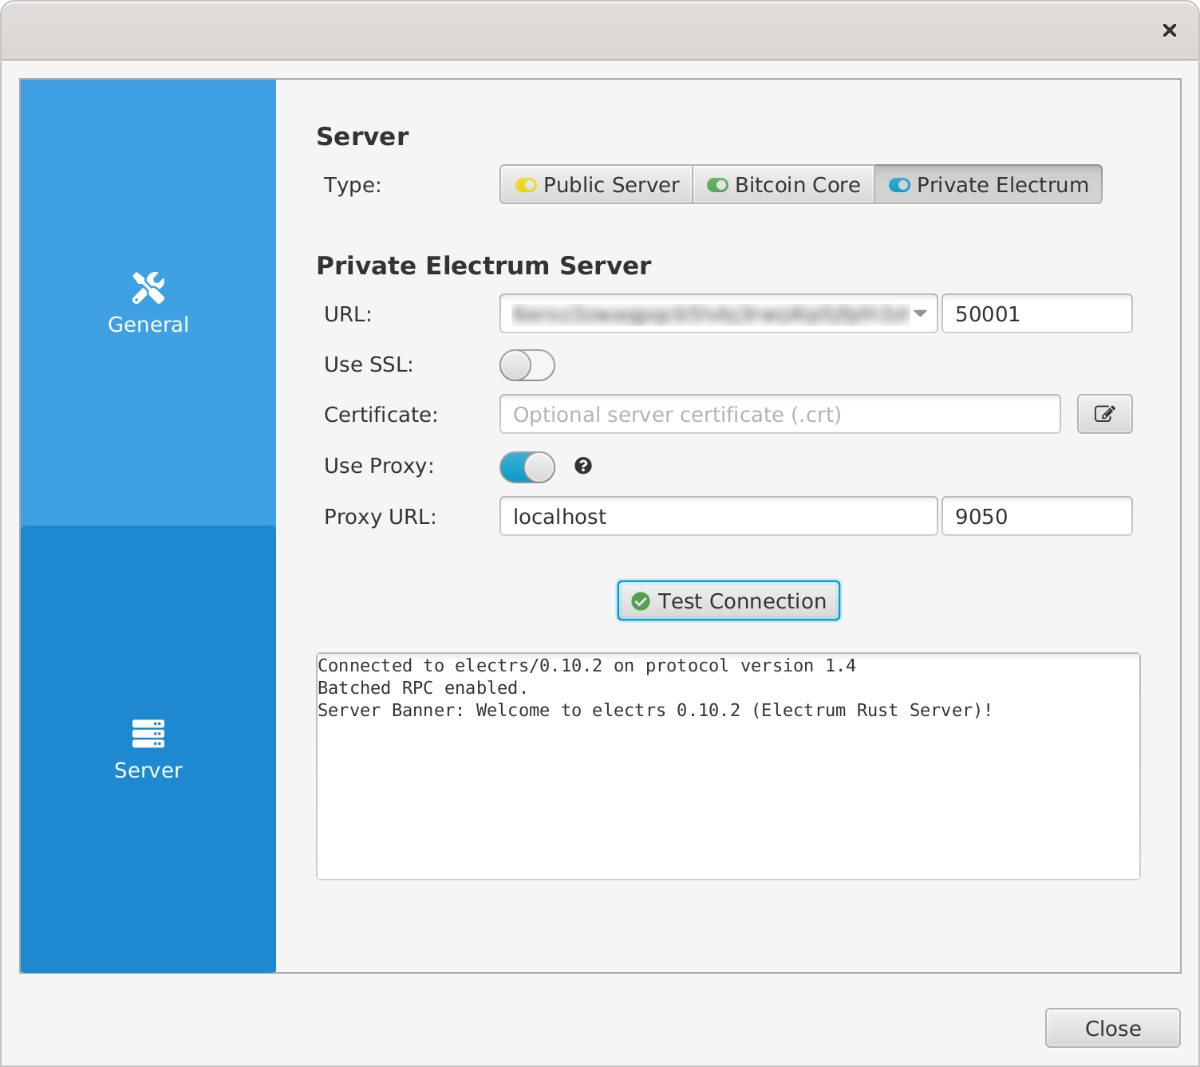
Abre Sparrow y configura un servidor en las preferencias.
i️ Para conectar Sparrow a través de Tor en TailsOS, debes habilitar y usar el proxy en las preferencias del servidor.
Usar proxy: habilitado
URL del proxy: localhost (o 127.0.0.1)
Puerto: 9050
⚠️ Si tienes problemas para conectarte a tu nodo desde Sparrow en Tails, visita este artículo: Cómo conectar Sparrow Wallet a tu nodo de Bitcoin en Tails.
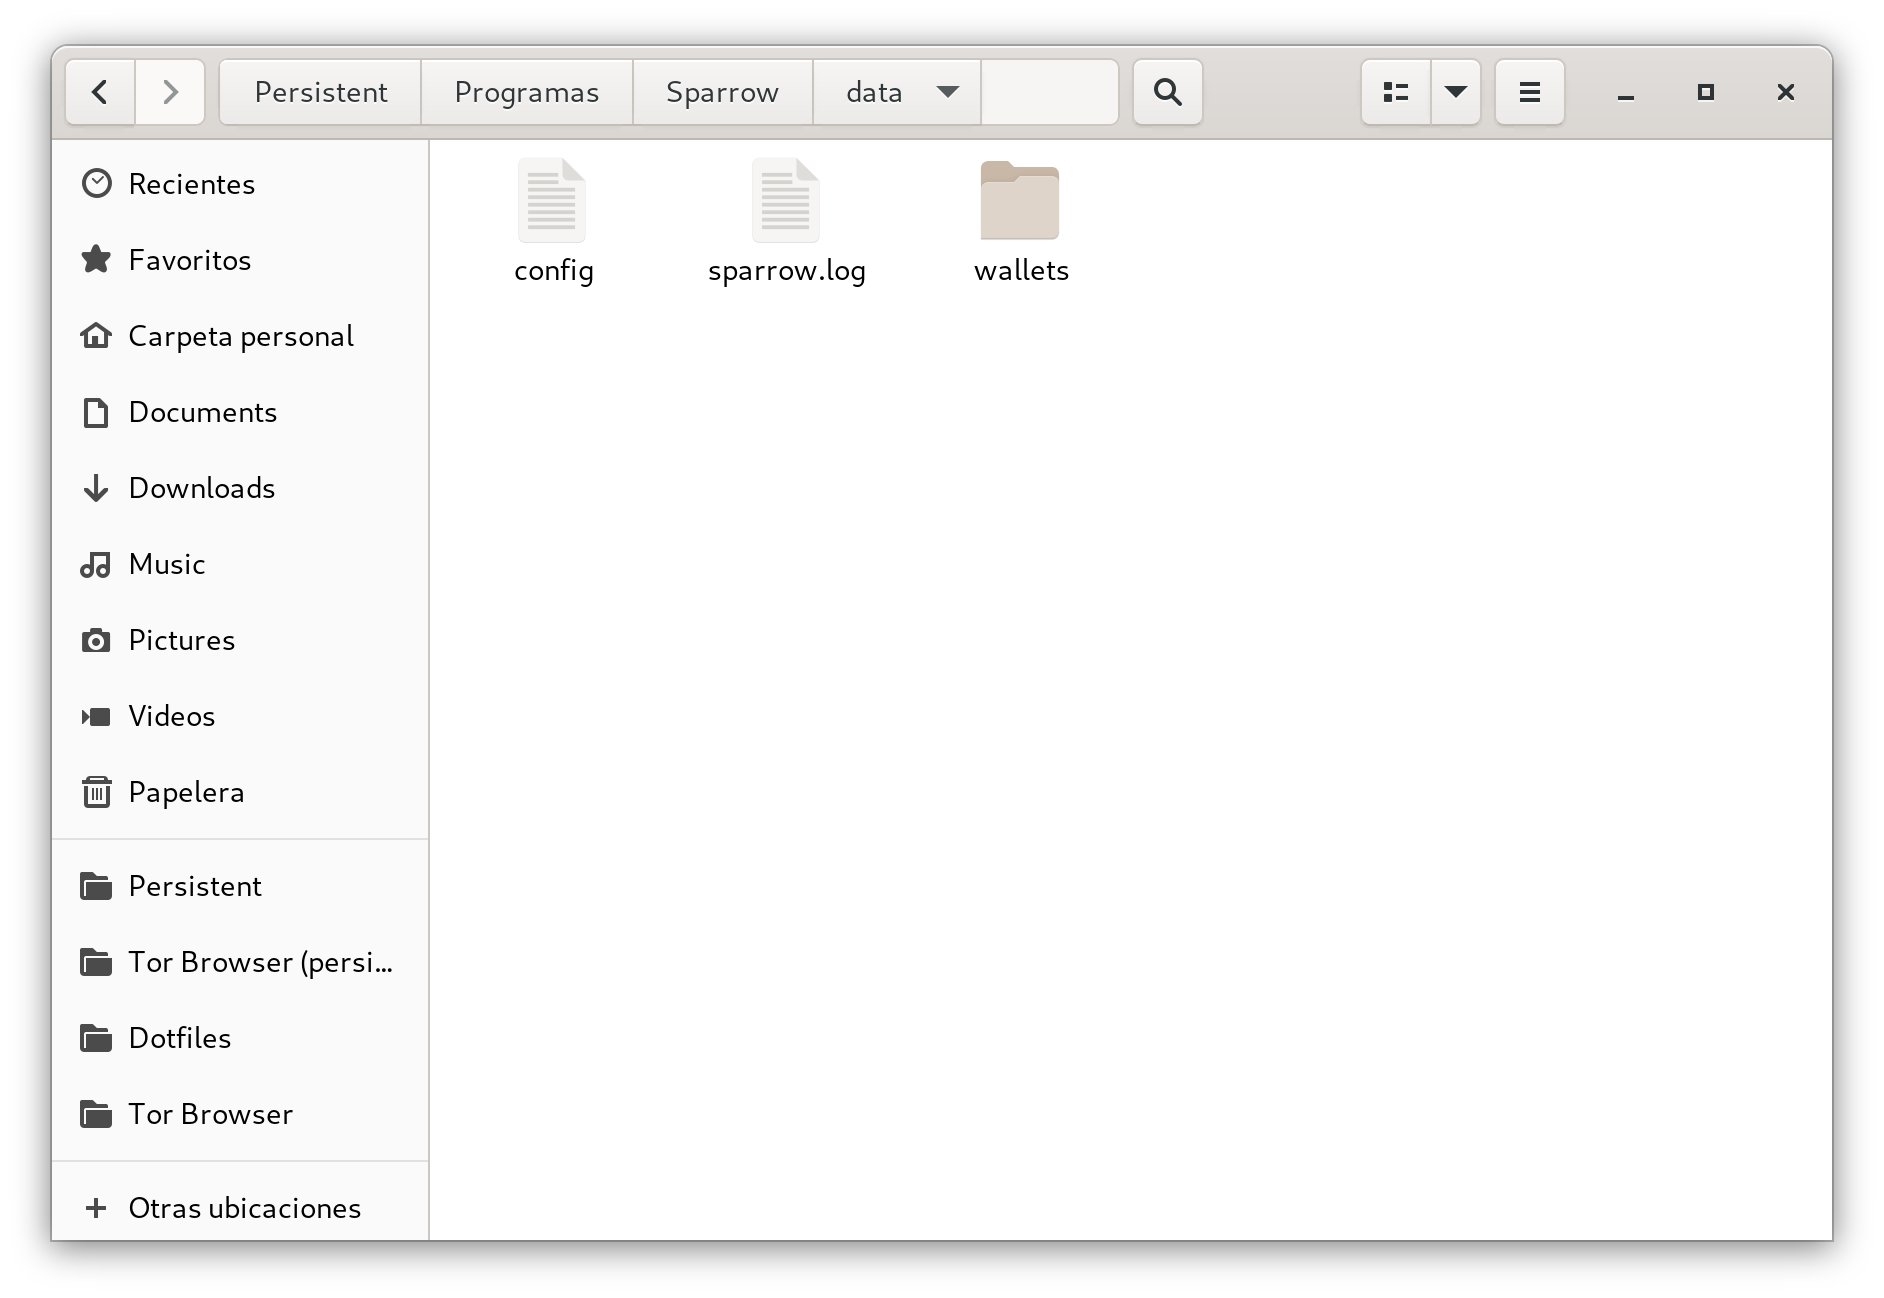
Luego asegúrate de que en la carpeta ~/Persistent/Programas/Sparrow/data, hayan aparecido algunos archivos (los clásicos de la configuración de Sparrow).
Si has llegado a este punto y todo lo anterior ha ido bien, es hora de reiniciar la máquina.
Una vez que reinicies, inicia sesión desbloqueando primero el almacenamiento persistente. Conéctate a la red Tor y finalmente abre las aplicaciones de TailsOS. Verás el ícono de Sparrow, y una vez que hagas clic en él, Sparrow se abrirá con la configuración almacenada.
Hemos configurado Sparrow en TailsOS para mantenerlo en almacenamiento persistente y evitar instalarlo cada vez que iniciamos el sistema.
Para crear este artículo, he hecho referencia a estos hilos:
🖖 Si este artículo te ha sido útil, por favor compártelo para ayudar a otros.