Pidgin is a free, platform-independent multi-protocol instant messenger that is also highly extensible through plugins. The advantage of supporting many protocols unfortunately also turns out to be the biggest disadvantage of this messenger, as it either does not support or only partially supports a number of XMPP extensions. Examples of this would be the lack of support for MAM, Message Carbons, or the partial or experimental support of OMEMO, where development is also rather slow or not progressing at all. Nevertheless, the author of this tutorial would describe this messenger as intuitively usable, like Gajim. You can download it here from the Pidgin.im page or under Linux via your respective package manager.
Creating an Account
Important: We want to collect as little data as possible from you for registration, which is why you only need a username and password. So remember your data or store it in a password manager, because a password reset is only available if you can unequivocally prove that it is your account.
…about the homepage
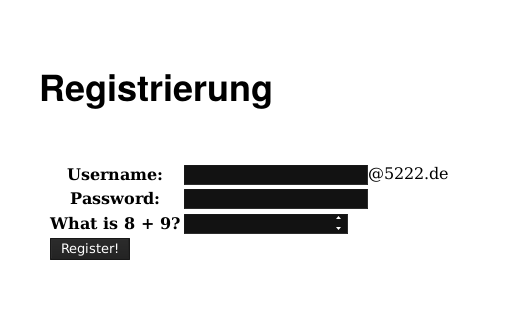
Through your browser, you can access the registration form via the following URL https://blog.5222.de/account/.
Here you now enter your desired username as well as your desired password and answer the CAPTCHA.
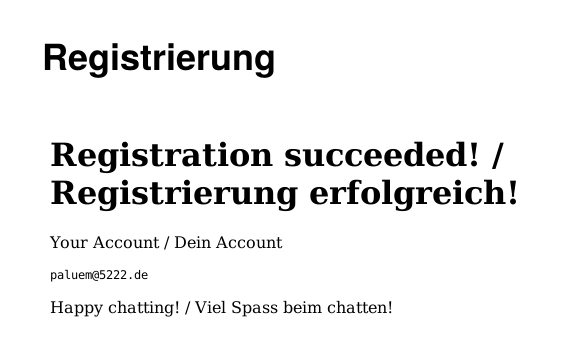
If everything is okay, you should receive the following message:
…about the Client
!Currently not possible, as In-Band Registration is disabled due to high bot activity!
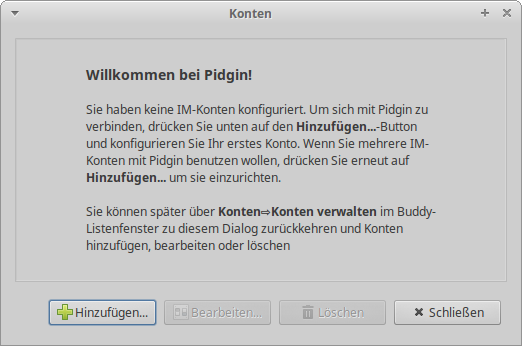
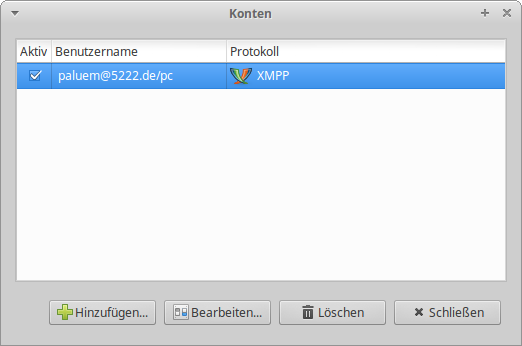
After Pidgin is opened, click on Accounts -> Manage Accounts or press CTRL + A, which opens a window where you click on Add.
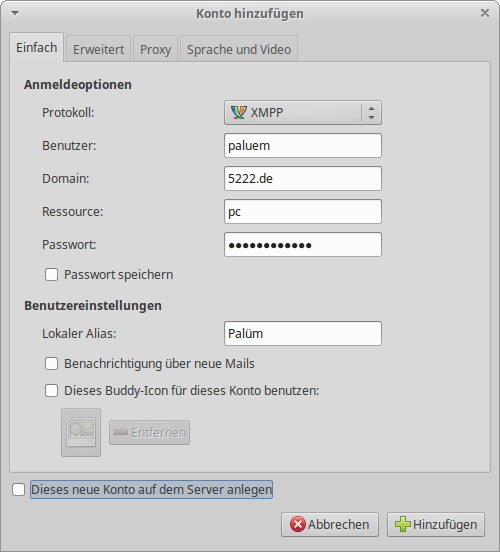
In the opening window, fill in the fields (the Resource field is optional).
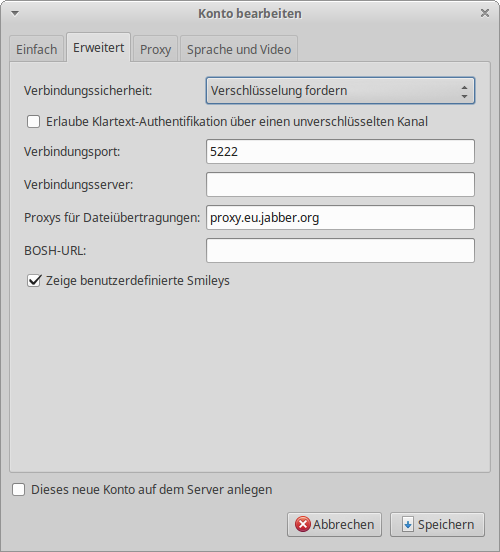
Don't forget to check the box for Create this new account on the server. Then click on the Advanced tab and make sure that under Connection Security Require Encryption is selected.
Then you click on Add and if everything went well, you will now see your account in the Accounts window, where it is marked as Active.
After clicking on Add, the program may also exhibit different behavior, e.g.
- it may happen that your browser opens and you are redirected to the provider's registration form. This happens when they have disabled this in-band registration but use a redirect module, such as mod_register_redirect.
- another window may open, in which you will see a CAPTCHA link that you need to open. The answer to the CAPTCHA must then be entered in the window. This is often the case when the provider uses ejabberd as server software.
Log in with the existing account
After Pidgin is opened, click on Accounts -> Manage Accounts or press CTRL + A, which opens a window where you click on Add.
In the opening window, fill in the fields (the Resource field is optional).
Then click on the tab Advanced and make sure that under Connection Security Require Encryption is selected.
Then you click on Add and if everything went well, you will now see your account in the Accounts window, where it is marked as Active.
Plug-Ins
As already mentioned in the introduction, Pidign is highly extensible through plugins.
OMEMO
Install
The OMEMO plugin for Pidgin is called Lurch, and is currently not available in a precompiled version, which makes installation not very easy for a user without advanced computer knowledge. The sources and installation instructions can be found Github Repository.
Until there are precompiled packages, we will refrain from further explanation here, as we have not tested it ourselves yet and we do not want to have the work of constantly updating this tutorial when something has changed in the repository.

